TAPESTRY BLOGS
Seated Yoga For Seniors
14 Seated Yoga Positions That Are Perfect for Seniors
By Mackenzie Biehl of HappilyHarper.com
Seated Yoga is essentially modified yoga that can be done while seated in a chair. These adaptations make yoga realizable for individuals who cannot stand or have challenges moving for standing to a seated position. While seated in a chair/wheelchair, I will show you how seniors can retain the basic fundamentals of yoga, allowing for stretches of their hips, back, spine twist, and breathing exercise. After my class, my residents will enjoy a good stretch, improved muscle tone, better breathing habits, and overall peace of mind.
Why is it important to exercise as you age? Exercise helps boost your bone density and decrease your risk of cardiovascular disease. Exercise also improves your balance which can lead to a reduction of falls.
To get the most out of this yoga sequence, be sure to take your time and breathe deeply into each stretch. Your breath is key for releasing tension from stiff muscles.
Yoga is great for focus, concentration, and emotional wellbeing. Seniors can benefit tremendously from the practice and it gives them a place to quiet their mind and start to slow down in life.
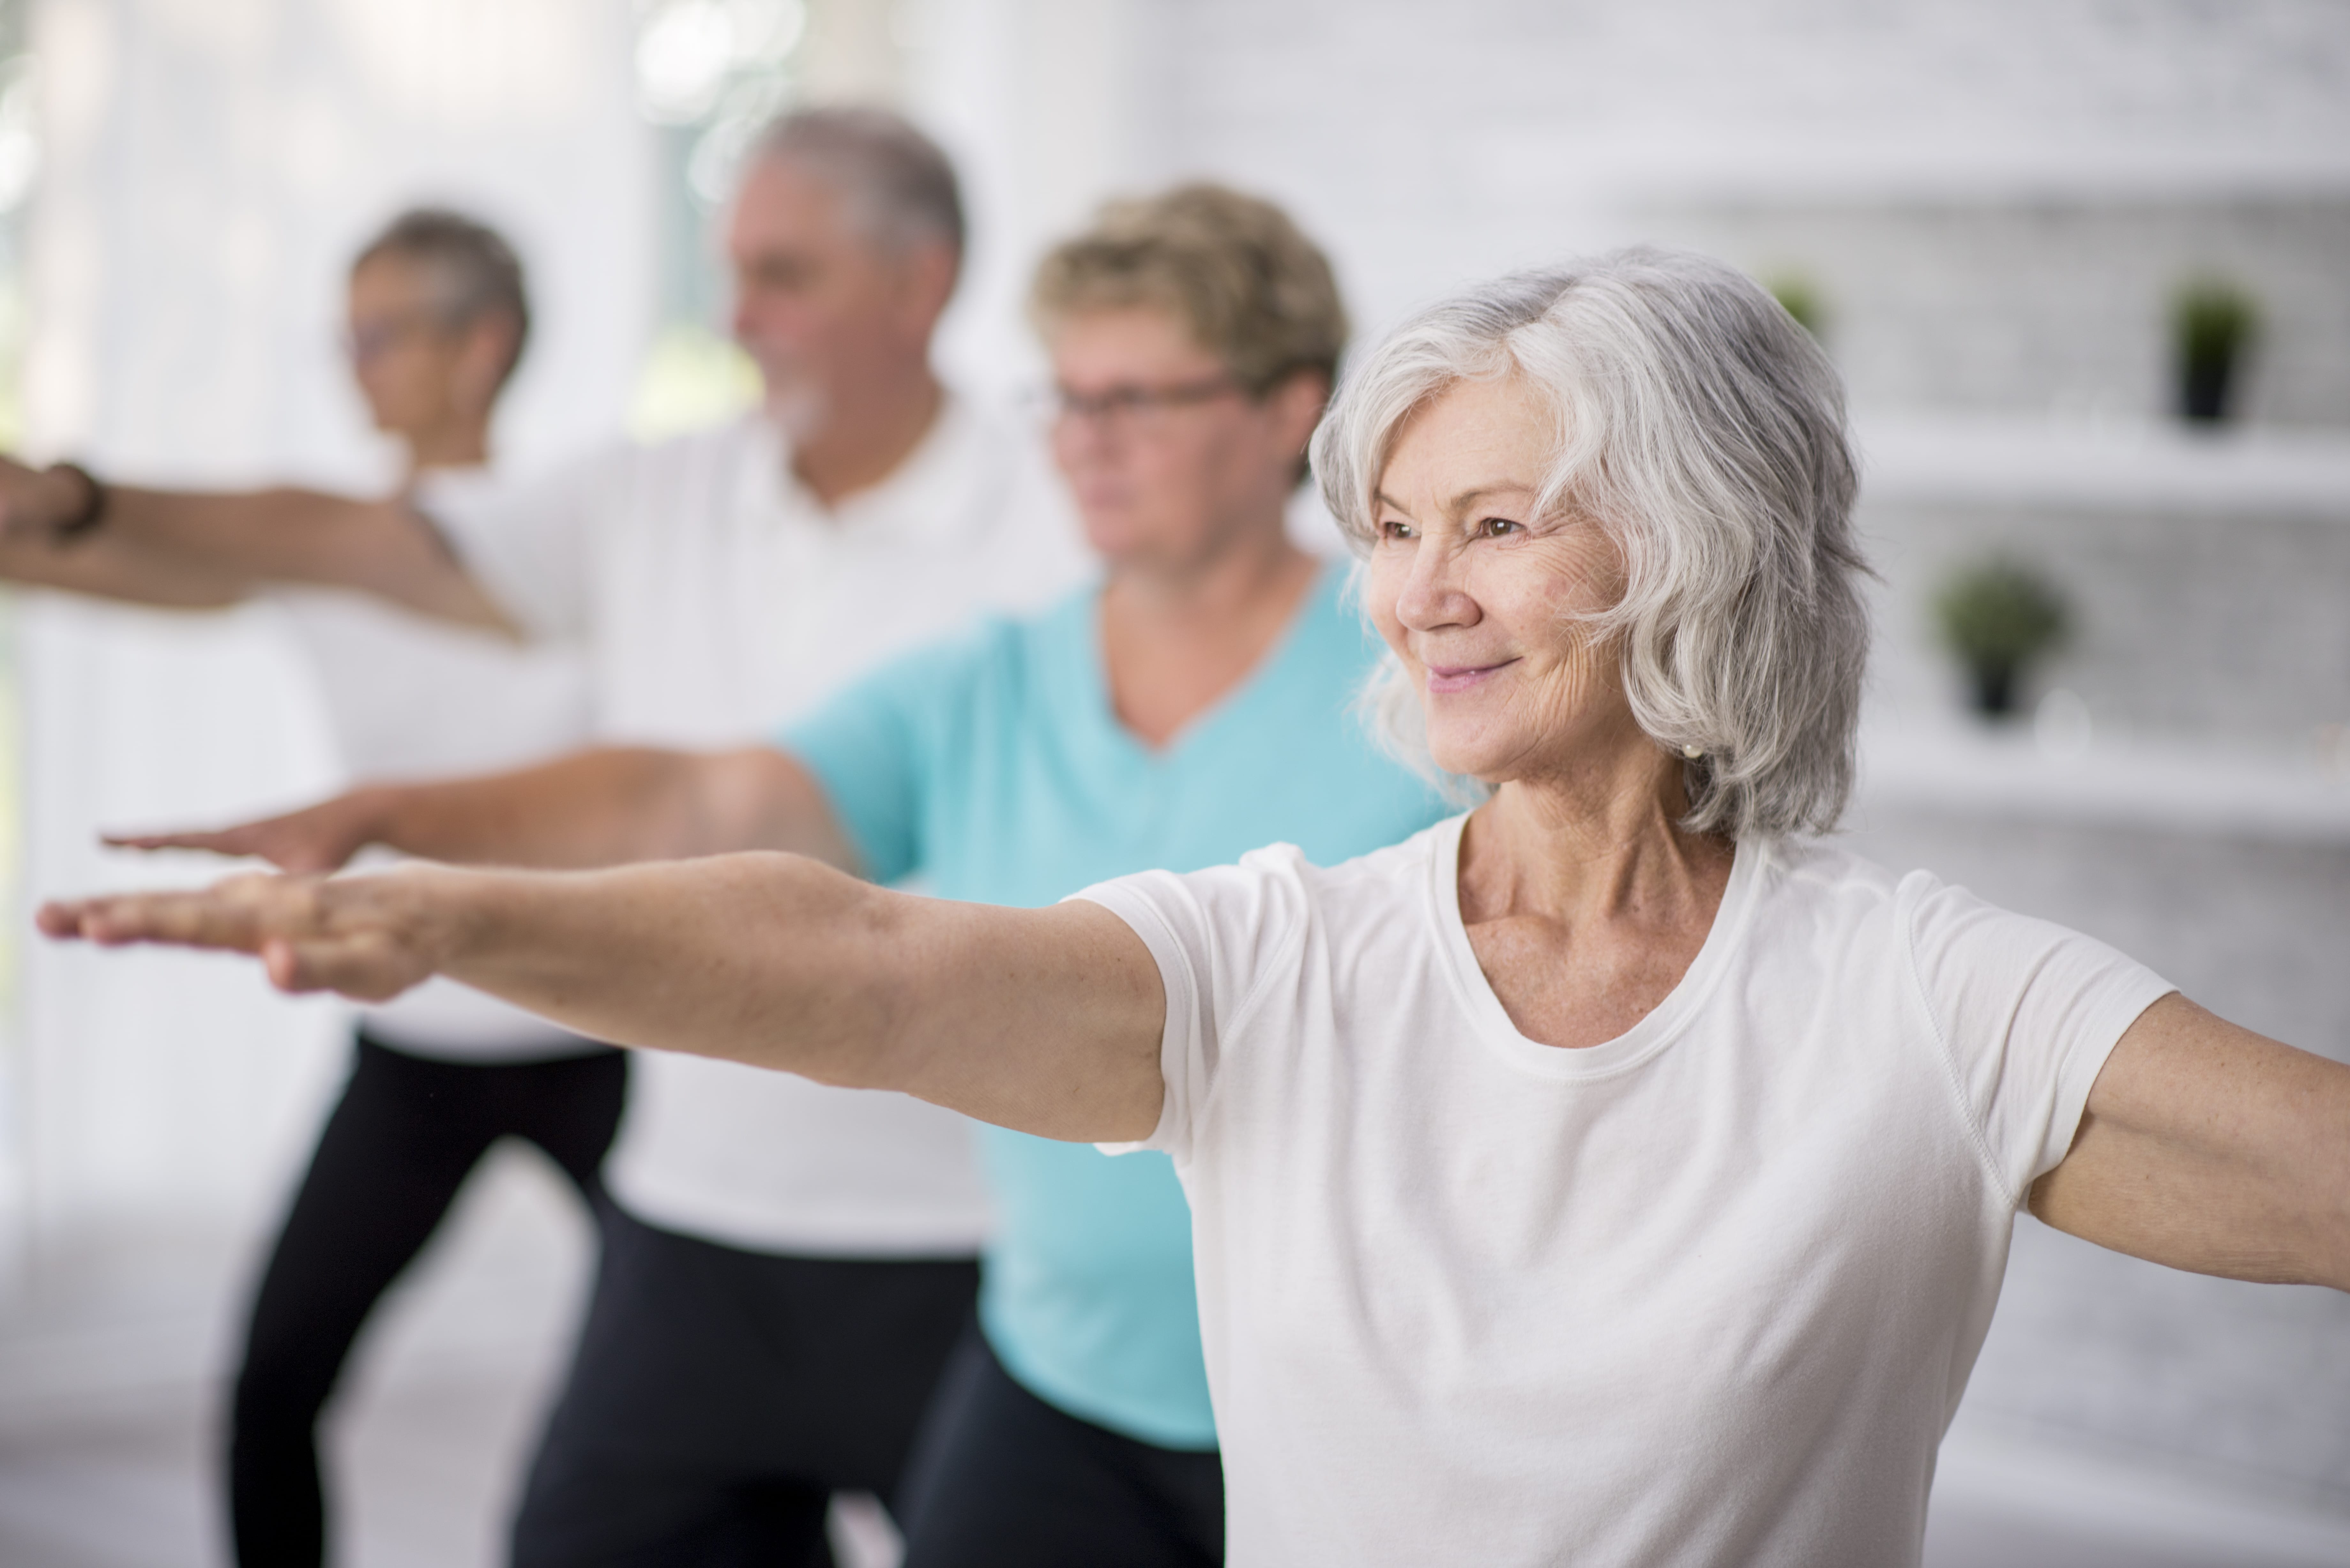
1. Deep Breathing Pose: Pranayama
For Seated Yoga, you want to make sure you are seated in a comfortable chair. Make sure to breathe slowly as this will facilitate lung expansion.
Keep your back straight all the time and do not bend backward. This will be easier to achieve if you suck your belly in so that your rib cage protrudes a bit.
As you exhale, tilt your head back slightly, while keeping your eyes open.
Shoulders should be kept in line with hips. Hips should be kept forward (you’ll achieve this by slightly squeezing your buttocks).
When exhaling, make sure to breath out completely to get rid of every bit of CO2 in your lungs.
Finally, don’t worry if you feel a little dizzy during this pose or if you feel a slight pinch in the shoulder area – these are completely normal feelings.
2. Roll entire body in a circular motion, let it move through your shoulders
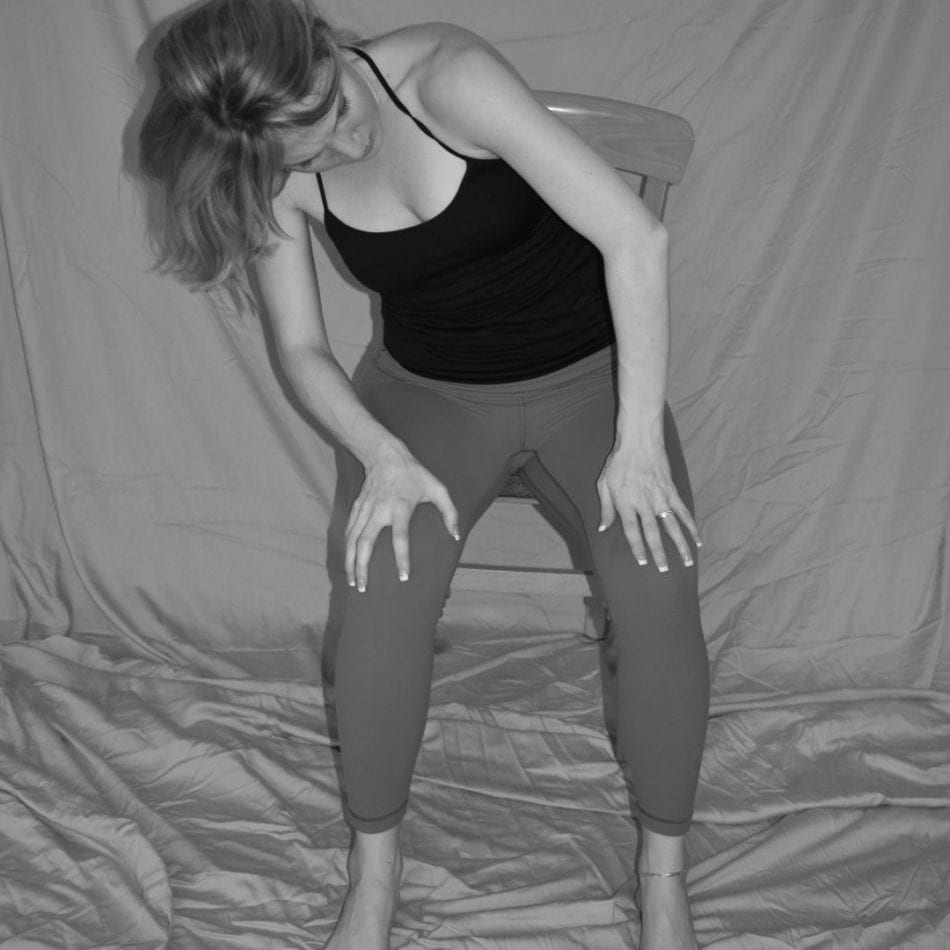
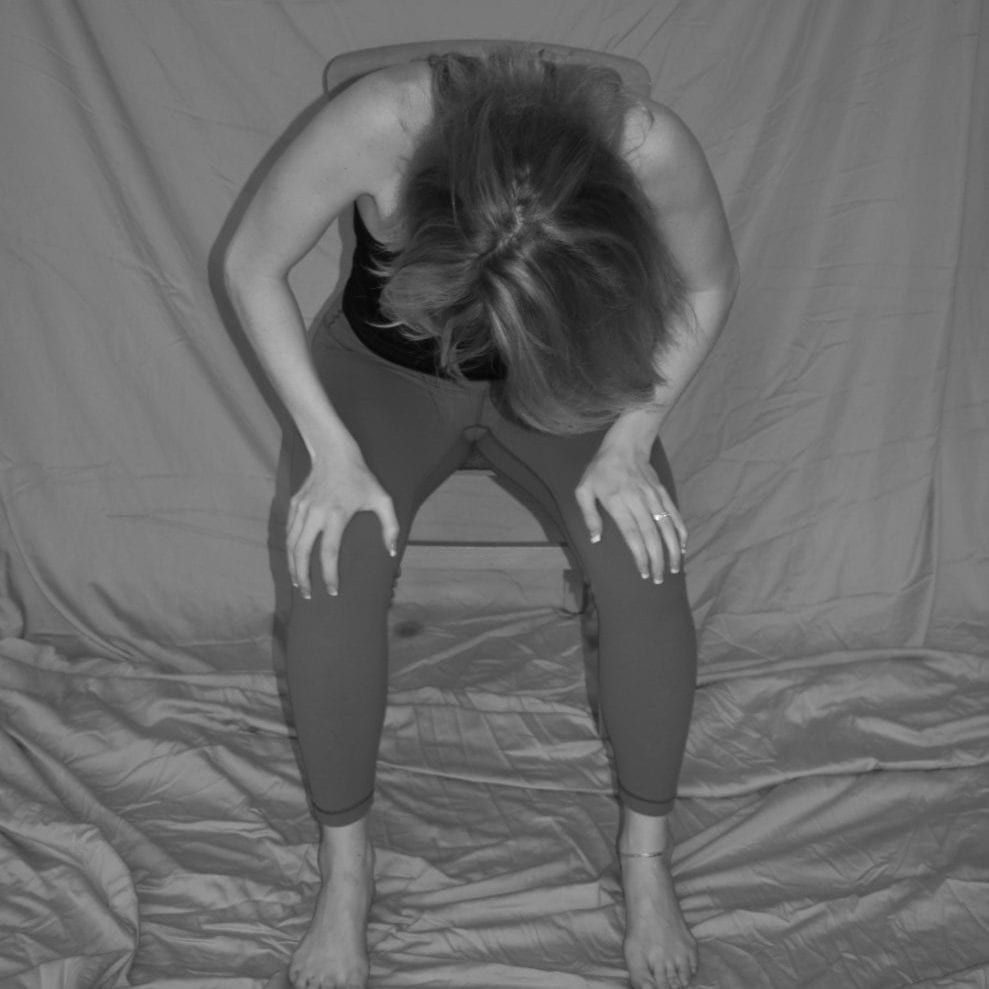
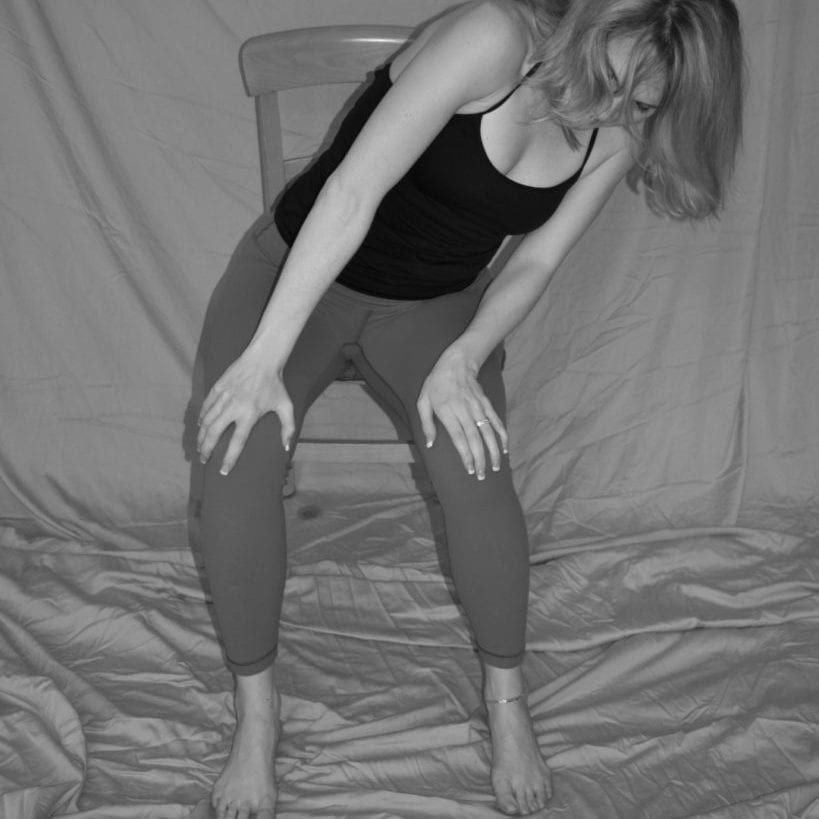
3. Ear to Shoulder
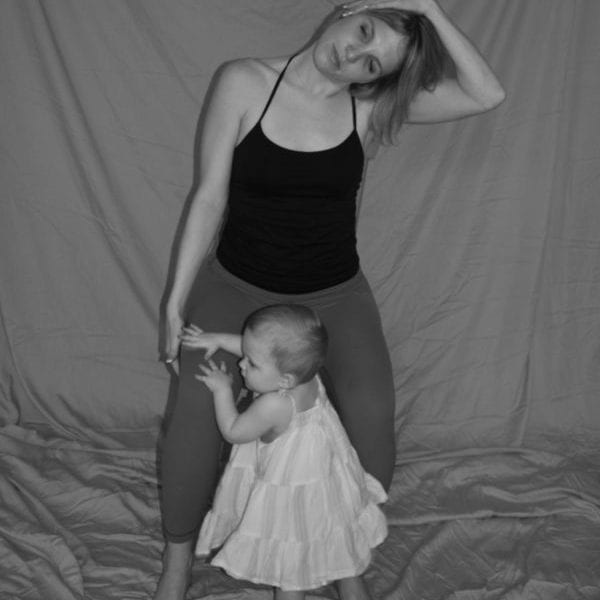
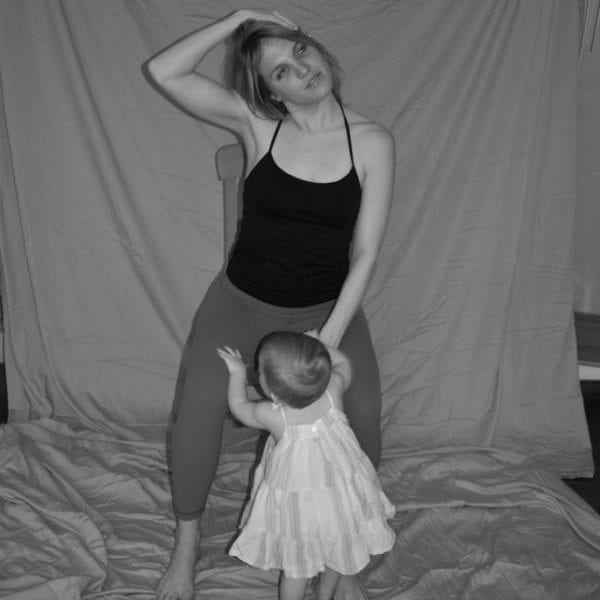
This is an easy pose that can be done just about anywhere. The pose facilitates the lateral movement of the neck as well as stretches down into the shoulder and trapezius muscles. Gently move neck up and down, side to side and around in slow circles as well.
To deepen the stretch, place your right hand on the left side of your head as it drops over towards the right shoulder. Don’t pull your head over; just allow the weight of your hand to softly guide it down.
4. Seated Yoga Mountain (Tadasana)
Take a deep breath and sit up straight, extending your spine.
As you exhale, root down into the chair with your sit bones (the lowest part of your tailbone, or the two points that take the weight when you sit).
Because this is seated yoga, your legs should be at 90-degree angles, knees directly over your ankles. You want to have a little room between your knees. Typically, your fist should fit between your knees, though your skeletal structure may require more room than this.
Take a deep breath and as you exhale, roll your shoulders down your back, pull your bellybutton in toward your spine, and relax your arms down at your sides. If your chair has armrests, you may need to have them out to the front just a little or a bit wider, to clear the armrests.
Engage your legs by lifting your toes and pressing firmly into all four corners of your feet.
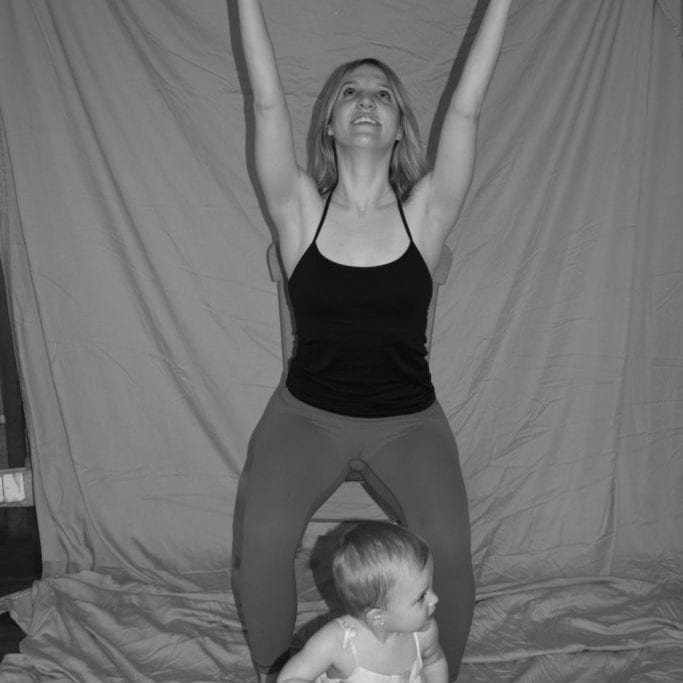
5. Seated Forward Bend (Paschimottanasana)
Inhale in Seated Mountain, focusing on extending your spine, and simply fold over your legs. You can start with your hands resting on your thighs and slide them down your legs as you fold for a little extra support, or you can keep them at your sides as you work toward laying your torso on your thighs.
On exhale, come into a forward bend, let your hands reach the floor or let them hang heavy.
Take 5 or more even breaths in this pose. It massages your intestines, helping with digestion, as well as passively lengthening your spine and stretching your back muscles.
When ready, inhale as you lift your torso back to an upright position and raise your arms back over the head.
Repeat this movement between a raised arms position and a forward fold several times, moving with the breath.
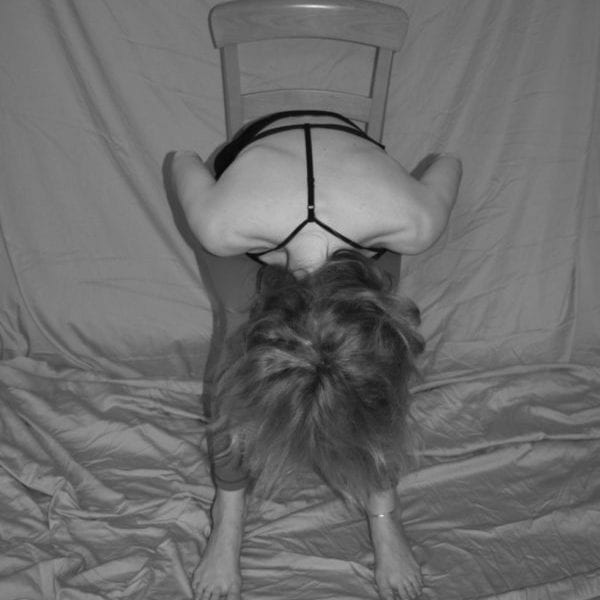
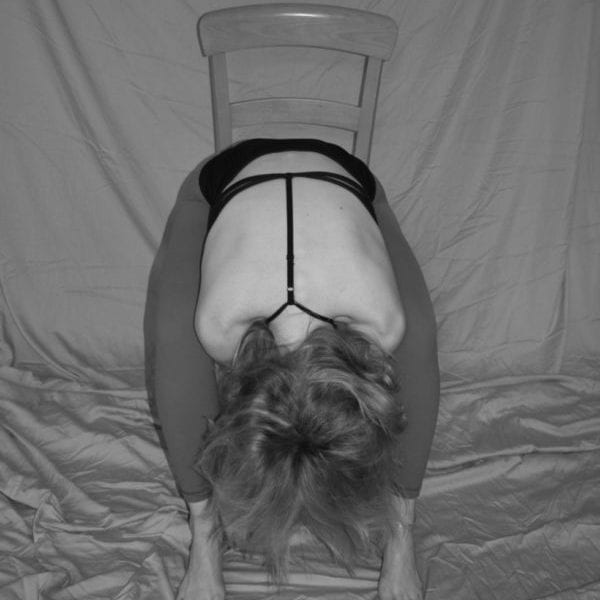
6. Half-Moon Pose Ardha Chandrasana (Seated Bikram Style)
This seated yoga posture provides quick energy and vitality for your practice session. It corrects any issues with posture or with lower-back pain, strengthens thighs, calves, and all of the body’s central muscles exercises circulatory, glandular, pancreatic, muscular, respiratory, renal, and skeletal systems. This posture improves bowel activity by toning abdominal organs and spinal nerves, firms and trims abdomen, buttocks, hips, and waistline, and lessens anxiety and mental stress.
Raise your arms over your head and interlock your fingers. Release your index fingers and cross your thumbs. Inhale as you stretch up from your waist and bend your upper body over to the right. As you exhale, move your hips and lower body to the left. Repeat on the other side.
You can modify this posture. As you lift one arm overhead with your palm facing inward, reach and lean toward the opposite side of the arm raised Hold for eight seconds, then switch sides.
I tell my residents; if it is too challenging to keep your palms together, release them and focus on the stretch.
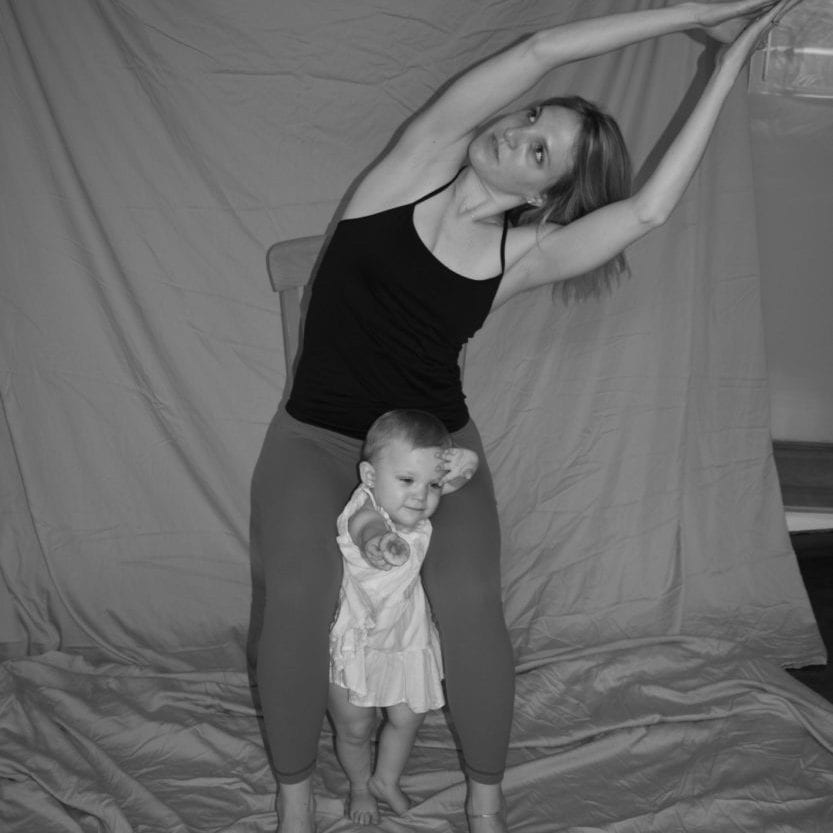
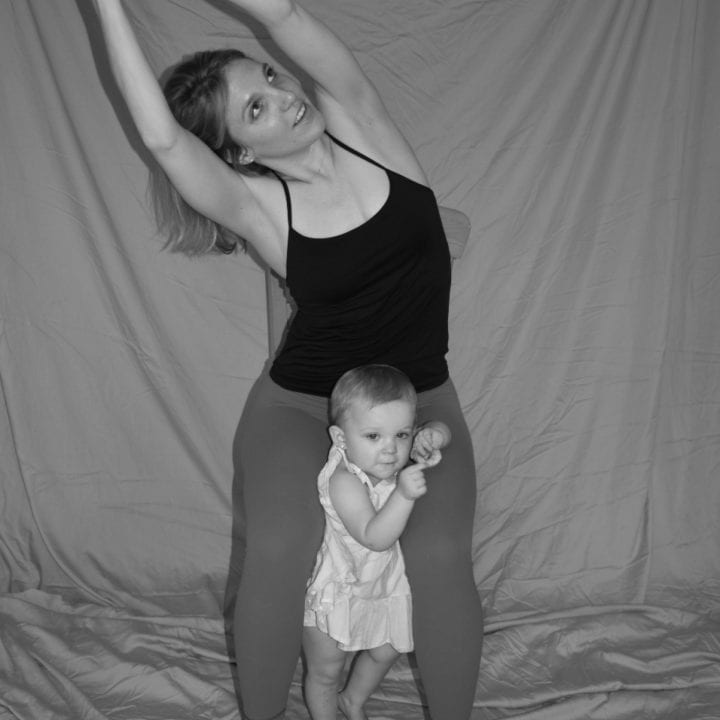
7. Right elbow up behind back, clasp left elbow and bed down inhaling and exhaling and reverse
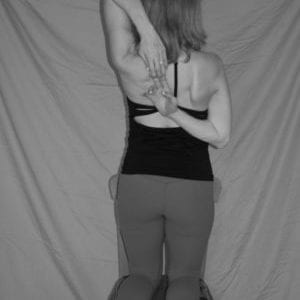
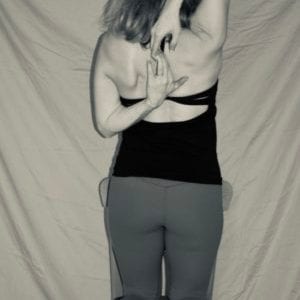
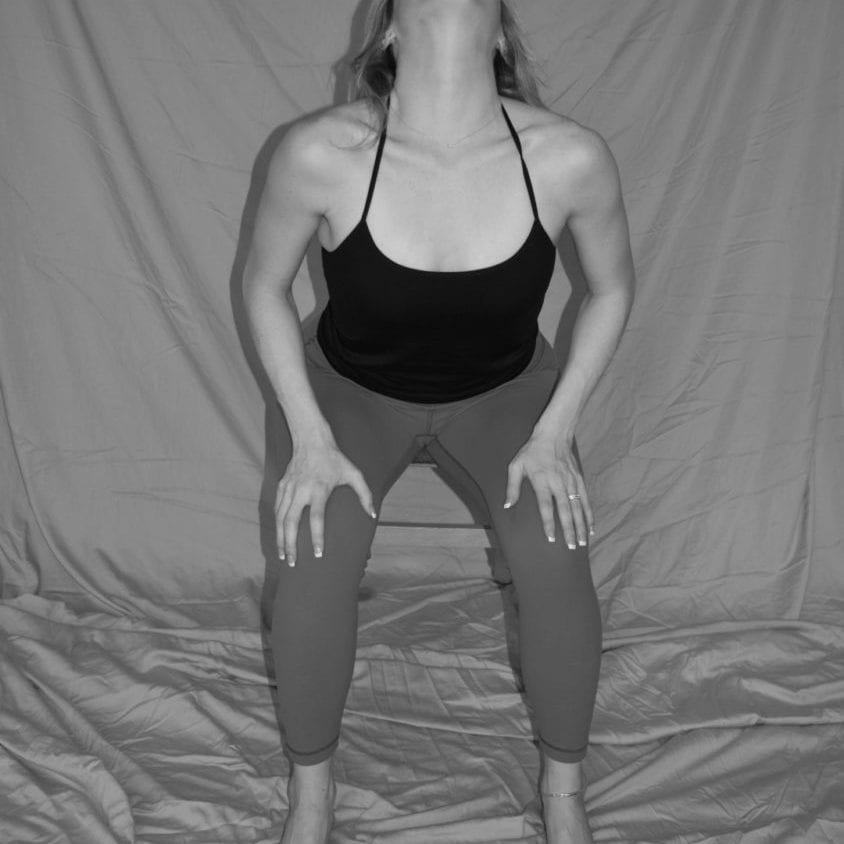
8. Cat Cow
Sit in the chair with your spine long and both feet on the floor. Place your hands on your knees or the tops of your thighs.
On an inhale, arch your spine and roll your shoulders down and back, bringing your shoulder blades onto your back.
On an exhale, round your spine and drop your chin to your chest, letting the shoulder and head come forward.
Continue moving between cow on the inhalations and cat on the exhalations for five breaths.
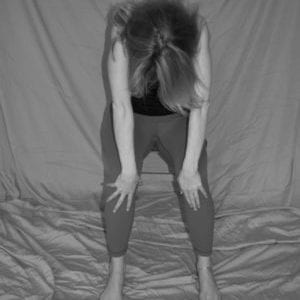
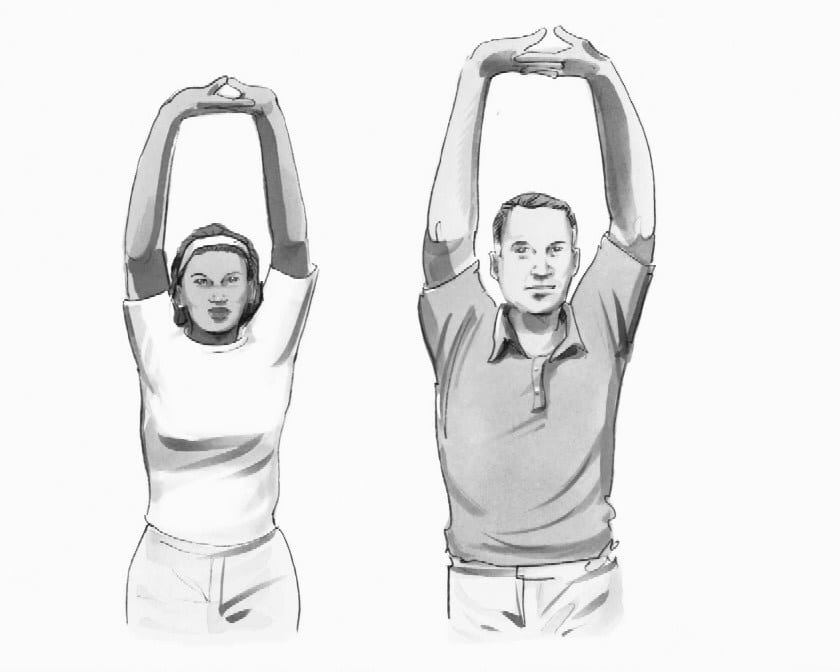
9. Clasp hands together over the head with palms facing up.
Inhale bend, exhale, press up through the heels of the hand. Inhale press, exhale up. Soften shoulders
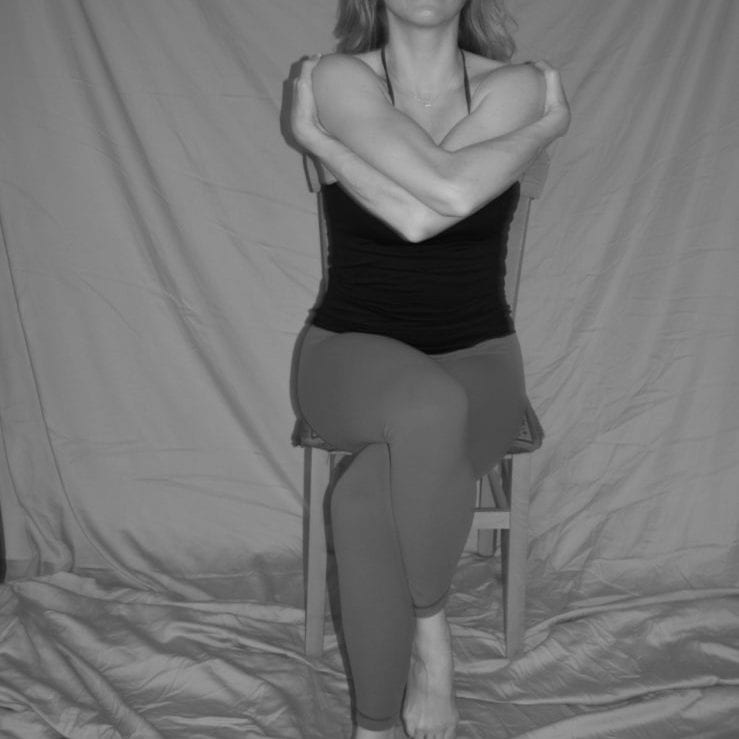
10. Eagle Pose: Garurasana
This pose relaxes your shoulders and upper back as it stabilizes and flexes your shoulder joint.
Take a breath and then, as you inhale, stretch your arms out to your sides.
As you exhale, bring them in front of you, swinging your right arm under your left and grabbing your shoulders with the opposite hands, giving yourself a hug.
If you have more flexibility in your shoulders, you can release your grip and continue wrapping your forearms around each other until your right fingers rest in your left palm.
Inhaling, lift your elbows a few inches higher.
Exhaling, roll your shoulders down, relaxing them away from your ears.
Take a few breaths, repeating the elbow lift and shoulder roll if you like.
This posture works into 12 major joints of the body, promotes the health of the central nervous system and enhances lymphatic functions. It improves balance, hip-joint mobility, and immune system, strengthens deltoid, trapezius, and legs, and reduces varicose veins.
11. Single-Leg Stretch (Janu Sirsasana)
You can inch a little closer to the edge of your seat for this one. Just be sure you’re still on the chair enough that you won’t slide off.
Sitting up tall, stretch your right leg out, resting your heel on the floor, toes pointing up — the closer to the edge of the seat you are, the straighter your leg can get. But again, be mindful of how supported you are before folding forward.
Rest both hands on your outstretched leg. As you inhale, raise up through your spine, and as you exhale, begin to bend over your right leg, sliding your hands down your leg as you go.
Take this stretch as far as you like while not straining or forcing anything and still feeling supported, both by the chair and by your hands. If you’re able to reach lower on your leg, consider grasping the back of your calf or your ankle.
Inhale and exhale slowly and evenly 5 times in this position, gently going deeper each time, and then release the pose by using an inhale to help you rise. Repeat this pose with your left leg outstretched, double-checking how supported your body is on the edge of the chair and realigning your right leg’s knee over your ankle before you bend over.
12. Triangle Pose: Trikanasana
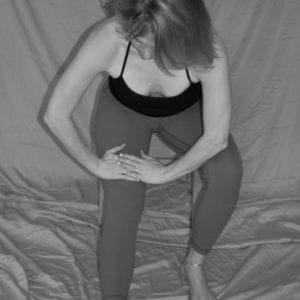
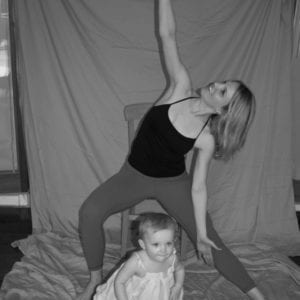
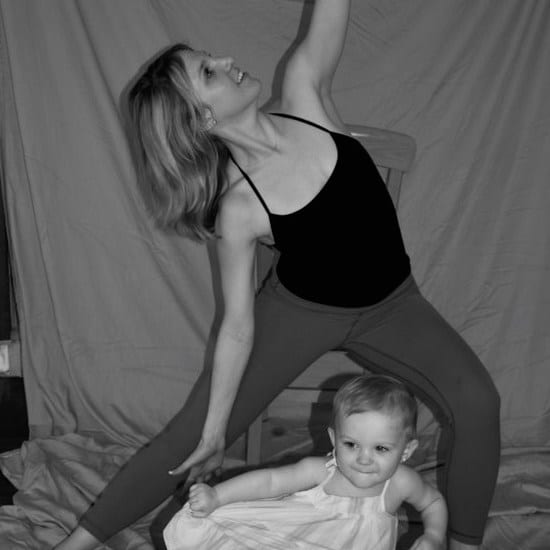
On an exhale, open up the arms with the right arm coming forward and the left arm going back.
Draw the left hip back and turn the torso to the left, so that it is aligned with the front of the chair. Gaze over your fingertips and hold.
13. Tree Pose: Tadasana
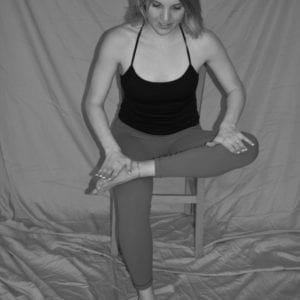
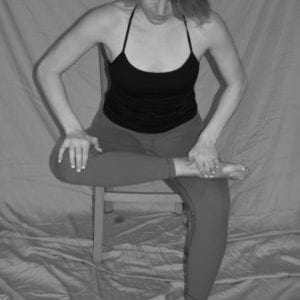
Bring your right ankle to rest on your left thigh, keeping the knee in line with your ankle as much as possible. Hold for 3 to 5 seconds. Breathe.
You can modify this posture by resting your ankle on your opposite ankle.
14. Spine Twisting Pose: Ardha Matsyendrasana
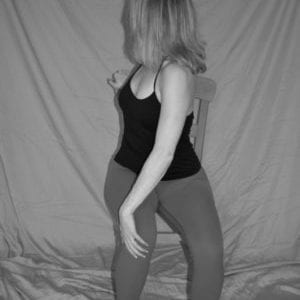
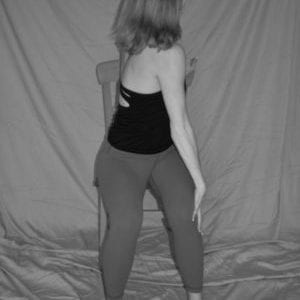
Though you will have your chair back to help you twist here, keep in mind that you don’t want to use the chair to yank yourself into a deeper twist. Your body will have a natural stopping point. Don’t force it by pulling with your hands. Forcing a twist can cause serious injury.
As you inhale, extend your spine again and raise your arms out to your sides and up.
As you exhale, gently twist to the right with your upper body and lower your arms —your right hand will rest on the top of the chair back and help you to gently twist, your left hand will rest at your side.
Look over your right shoulder. Use your grip on the chair to help you stay in the twist but not to deepen it.
After 5 breaths, release this twist and return to facing the front. Repeat on your left side.
XOXO
Mackenzie


